How To Use
All Mockup Foundry products are PSD files built with smart object layers. Smart objects allow you to place your design onto the mockup instantly — with realistic shadows, textures, and lighting applied automatically.
Step 1 — Open The File
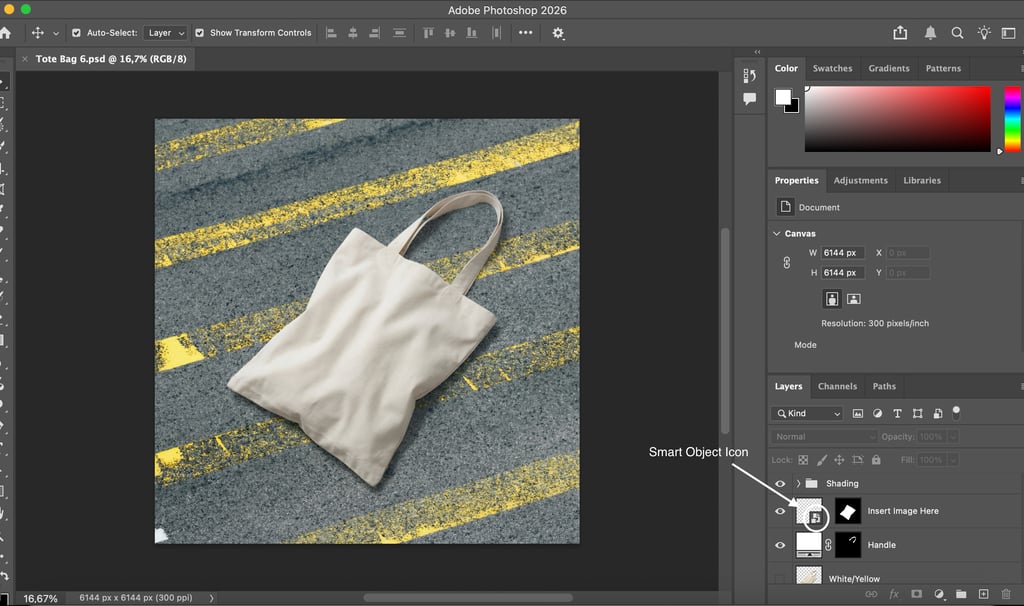
Open the PSD file in Adobe Photoshop. Once opened you will see the mockup scene and a layers panel on the right side of your screen.
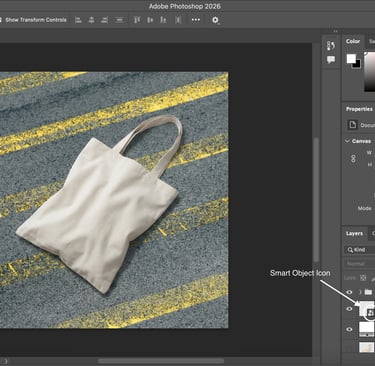
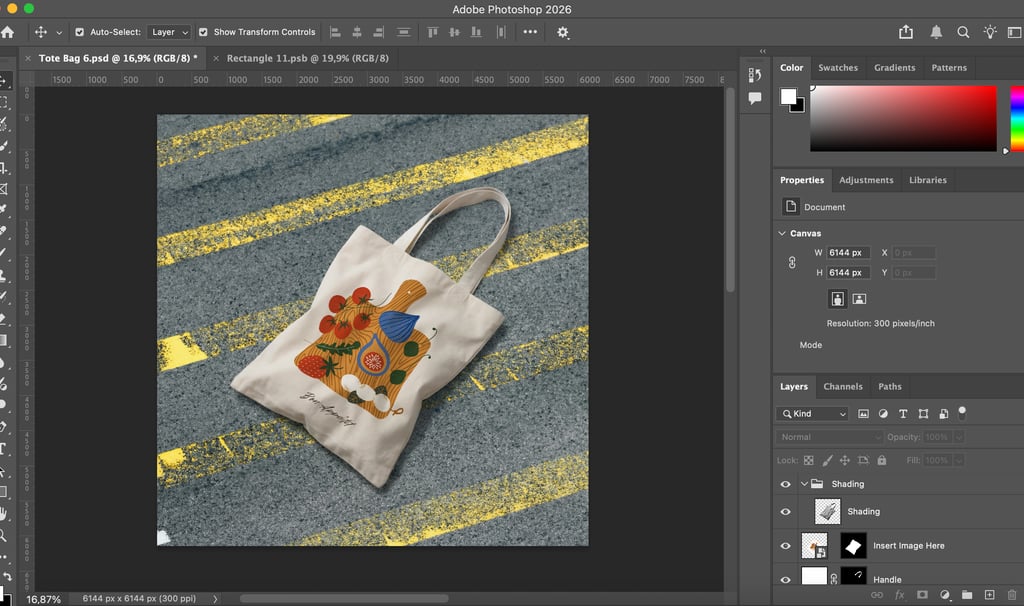
Step 2 — Find The Smart Object Layer
In the layers panel, look for a layer labeled "Insert Image Here" or similar. Smart object layers are identified by a small square icon in the corner of the layer thumbnail.
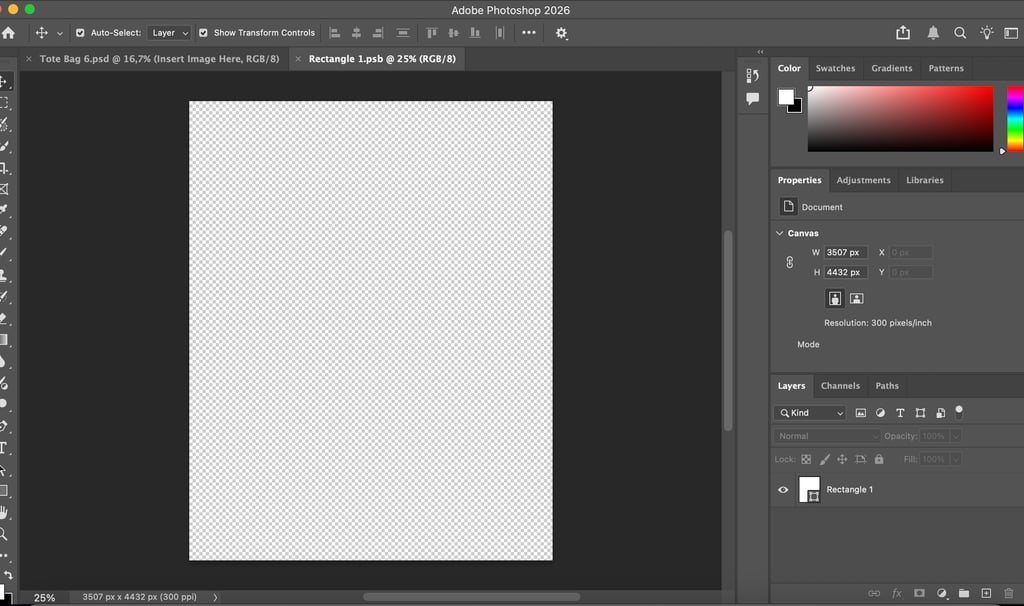
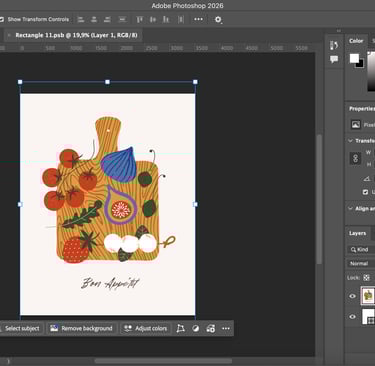
Double click the smart object layer thumbnail. A new window will open showing a blank canvas — this is exactly where your artwork will appear on the mockup.
Step 3 — Open The Smart Object
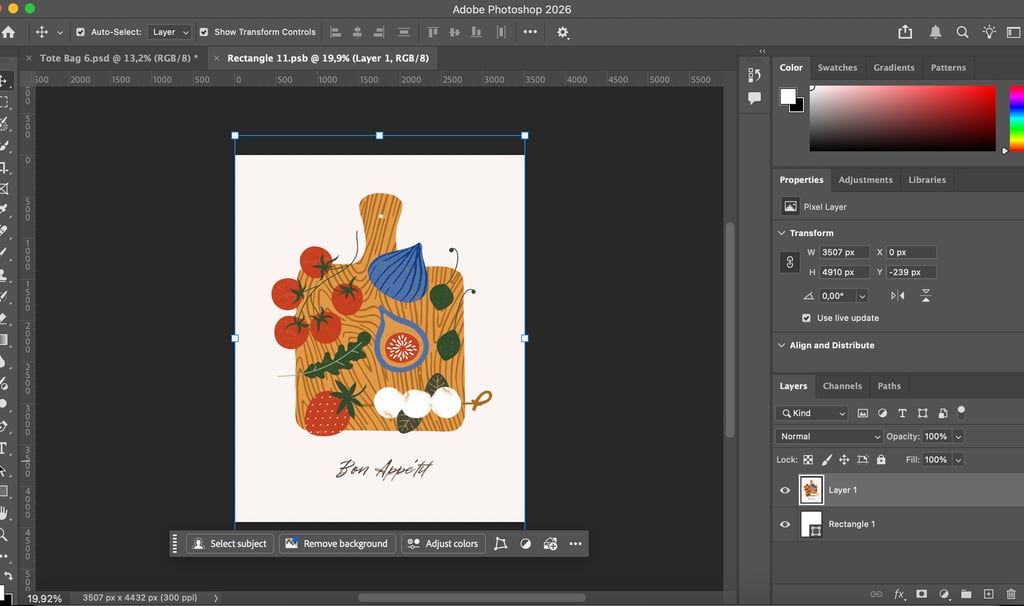
Step 4 — Place Your Design
Paste or place your artwork into this window. Resize and position it to fill the canvas area. For best results make sure your design covers the entire canvas.
Get your design on a mockup in less than a minute.
Step 5 — Save And Close
Save the smart object window by pressing Cmd + S on Mac or Ctrl + S on Windows, then close the window. Your design will appear instantly on the mockup with all shadows and lighting applied automatically.
Step 6 — Export Your Final Image
Go to File, then Export, then Export As. Choose JPG for web and social media use, or PNG if you need a transparent background. Save your final image and it is ready to use.

Mockup Foundry
Premium PSD mockup templates for designers, brands, and creators.
Contact
Newsletter
mockupfoundryco@gmail.com
© 2026 Mockup Foundry. All rights reserved.